This is my photo essay on how to make salt and pepper grinders. There are lots of different kits available, and this is just one option. I will definitely try some other options later.
- Create the wood blanks. This kit called for wood that is 3 by 3 inches. Since I didn’t have any wood that thick, I cut a bunch of pieces to 3 inches by 6 inches and glued them together. I chose layers of Walnut, Cherry, and Maple. After gluing, the wood gets clamped then dries for at least 2 days.
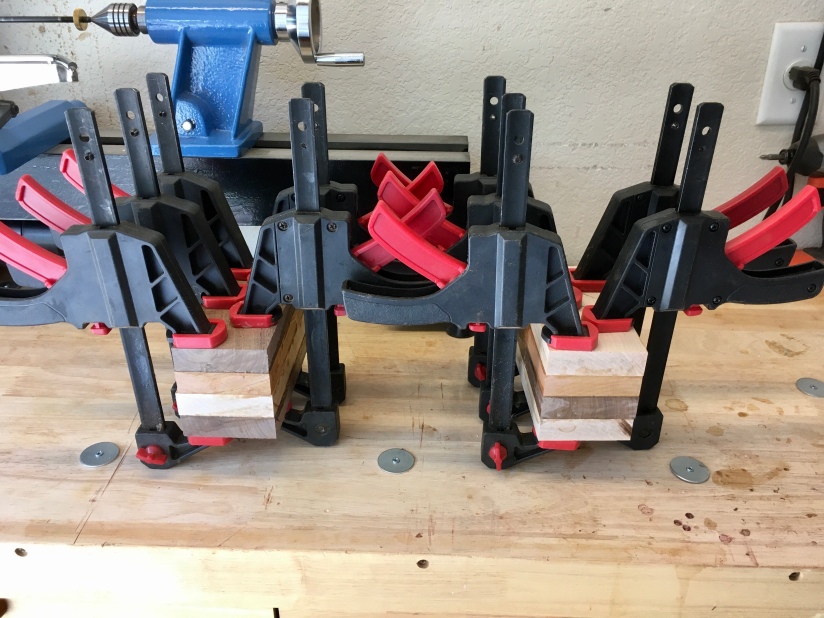
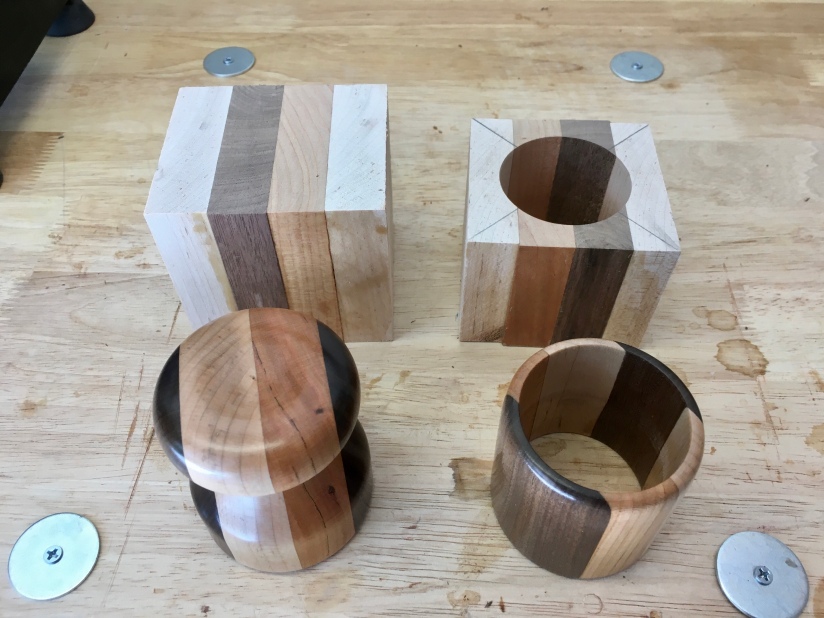
- Here are the completed wood blanks. They measure about 3 by 3 by 6 inches. The edges aren’t smooth, but that’s OK, because we’re going to be doing a lot of cutting and turning. The piece with walnut on the outside is going to be for pepper mill, and the piece with maple on the outside is going to be for salt mill.

- Cut the top and bottom to size. The next step is to cut the pieces to the proper length for the top and bottom. I did this on my miter saw. Note that some of the pieces are not exactly square, but that won’t matter once we put them on the lathe and turn them to round.

- Drill holes in each piece. The next step is to drill out the pieces. The bottom gets drilled completely through, but the top gets drilled just partway. This is done on the lathe, by mounting the wood in a chuck and mounting the Forstner drill bit in the tailstock. It’s interesting because the wood turns while the drill bit is stationary.

- Here are the pieces after drilling. This step took much longer than I expected. The drill bit needs to be advanced very, very slowly, or the lathe simply stops. The tailstock has a crank to advance the drill bit, but it needs to be turned only about a 20th of a turn at a time. Some of the deeper holes took 15 or 20 minutes to drill.

- Mount the bottom piece and start turning. This step uses a piece called a jam chuck. It’s a rubber piece that inserts into the hole in the wood and expands when you tighten it. It’s enough to hold the wood piece while you turn it to the proper shape.

- Mount the top piece and start turning. In this case, because the hole is not very deep, the jam chuck won’t hold by itself, so I used a support mounted in the tailstock. This leaves a slight indentation in the center of the top, which we’ll deal with later.

- Here are the finished pieces for the pepper mill, next to the unfinished pieces for the salt mill. Note the concave portion of the top, where I smoothed out the hole from the lathe support.
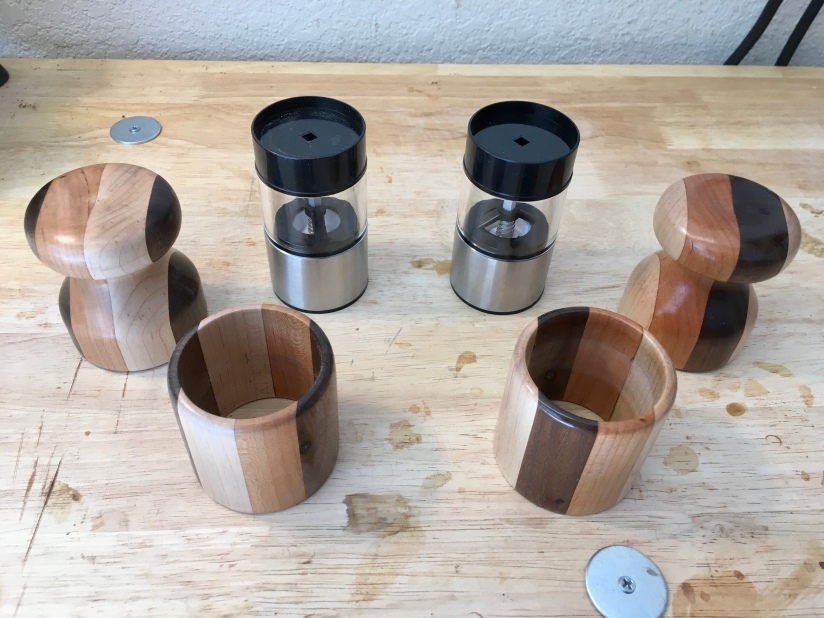
- Complete the other pieces. Finally I’m done with all the turning, sanding, and finishing. Here are the finished wood pieces, next to the mechanisms.
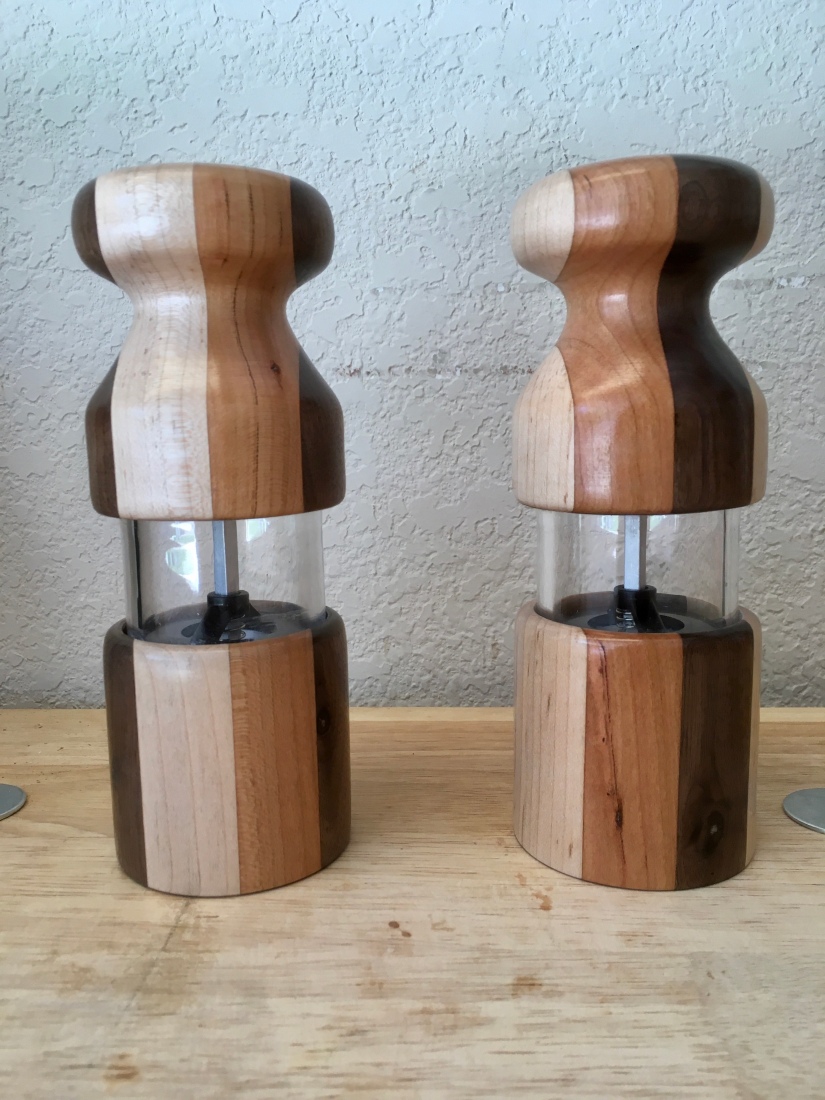
- Assemble and glue the parts together. I used cyanoacrylate (super glue) to attach the mechanism to the wood. These pieces are not going to EVER come apart! Here’s the final product.
This was an interesting project. It took a LOT longer than I thought. Altogether, I spent about 10 hours working on these two pieces, plus all the time waiting for the glue to dry. Nevertheless, I think they turned out pretty well, for a first attempt. I’m not sure if I’ll ever make this specific kit again — I want to try some other salt and pepper kits.
